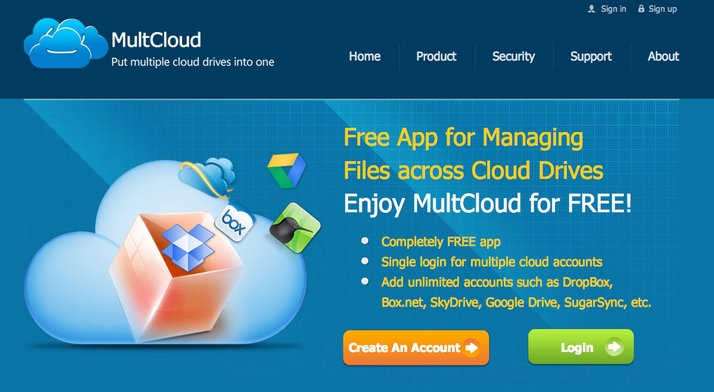
Cloud storage is great. Knowing that wherever you are, as long as there’s a wifi connection handy, you can gain access to all your files from any computer, tablet or smartphone is very liberating indeed. The choice of services on offer also means that you can get a considerable amount of free storage if you sign up to several of them. Basic accounts on Dropbox offers 2GB, Skydrive 7GB, Box 10GB, Google Drive 15GB, plus several others. Having all of this free space is excellent, but navigating to all the different sites in order to manage them can quickly become laborious. Thankfully there is now a solution that simplifies the process. See also: the 7 best cloud storage services in 2014 Multcloud.com is an online service that allows users to link their various cloud services to a single site. Here you can transfer files between the different providers, preview documents, and generally make better use of the storage facilities available to you. It’s not a complete solution, as you can’t edit the files in question, but if you want a detailed overview of your online accounts, and the ability to control them from a single login, then Multcloud can be an extremely useful service. In this How-To we’ll show you how to set up and account and link your storage, as well as the basic functions of the Multcloud interface. Step 1: Go to www.multcloud.com (remember that there isn’t an ‘i’ in the name Multcloud), and you’ll find the option to create a new account via the orange button on the front page. Click this and we can begin. Step 2: Fill in the form to create a new account. Remember that it’s always a good idea to use a different password to the one you use for your other cloud storage accounts, and make it a mixture of letters, numbers, and symbols for increased security. Step 3: Once you’ve filled in the details you’ll be sent a confirmation email. You’ll need to click on the included link to complete setting up the account. Log in again, then you can begin work on linking your various online storage options to Multcloud. Step 4: The screen now shows the various online storage services that work with Multcloud. If you don’t have accounts with any of them you can follow the links above Display Name, that will take you to the relevant site to create one. Step 5: To link an account select the service by clicking on its icon, then click the blue Add Account button. This redirects you to the service’s website where you need to log in and then give permission for the Multcloud app to access your data. Step 6: When you’ve added an account or two you’ll see that the Multcloud page changes to show a list of the files available. The left hand column displays the names of the accounts you’ve already linked, and to add more click Add Cloud Drive. Step 7: You navigate the files just as you would on any other library on your computer. Select the storage drive you want from the list in the left column, choose whichever folder holds the data you require, then double click on the file to see it previewed. Step 8: One problem we did encounter was that for some reason documents don’t seem to Preview at the moment. Clicking on one just results in a blank box where the words should appear. Hopefully this is fixed in the near future. Images files were fine. Step 9: To transfer files between different services go to the drive that holds the data you want to move, find the folder or file then right-click on it. Now select copy, navigate to the destination drive and paste it there. Step 10: To upload files from your PC (the download feature will be enabled soon), select which destination folder you want, then click Upload from the top of the screen. You’ll be presented with a popup box in which you select the file/folder, then it’s immediately uploaded. Step 11: The search feature is very useful for tracking down particular files across all your drives. Click on the Home icon in the long bar at the top of the main pane. Then enter the filename in the search bar on the right.
Martyn has been involved with tech ever since the arrival of his ZX Spectrum back in the early 80s. He covers iOS, Android, Windows and macOS, writing tutorials, buying guides and reviews for Macworld and its sister site Tech Advisor.